
The Amazon Browser is a tool within Price Checker 2 which allows you to scan Amazon search results, a brand store, or a competitor’s storefront, and run the listed products through your PC2 analysis.
In essence this replaces the input file with items read directly from the browser.
This feature requires Chrome browser to be installed on your system. Please see Chrome not found for Chrome installation troubleshooting.
The Amazon Browser function is only available on paid subscriptions, it isn’t available in the free demo. Read this guide to see how it works if you are looking to use this as your main source of product lists.
Instructions
Begin by launching the browser using the orange button in Price Checker. This will launch a control window and an instance of Chrome which is controlled by and linked to PC2.
As of version 2.2.43 this control window can be independently minimised and resized. Clicking the orange button again will bring the existing window to the foreground if already opened.
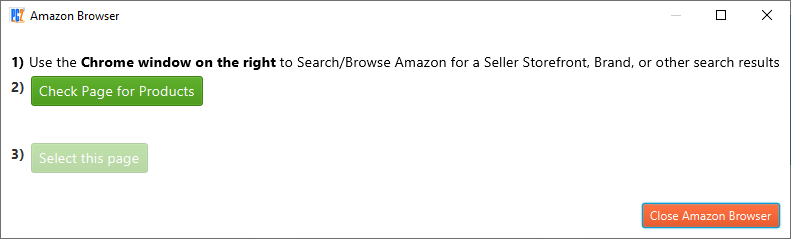
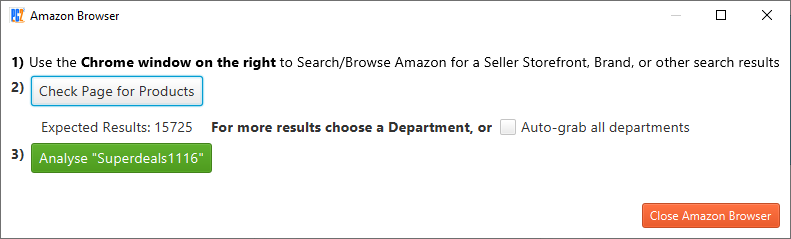
You will see 3 buttons on the control window:
1. Check Page for Products | Begin an initial analysis of the currently open page. |
2. Select this page / Analyse XYZ | Use the current page as the input for your run. |
Close Amazon Browser | Close the control window together with Chrome. |
1. Check Page for Products
First, let’s navigate to a page we want to run. Do this by browsing as normal using the connected Chrome browser (not your own, which might be open separately). In the rest of this guide, when we say ‘Chrome’, we mean that special Chrome window.
The following types of pages are currently supported:
Brand Store | Almost arbitrary search results | Seller Storefront |
|---|---|---|
Example: Lego | Example: Children's Toothpaste | Example: Superdeals1116 |
 | 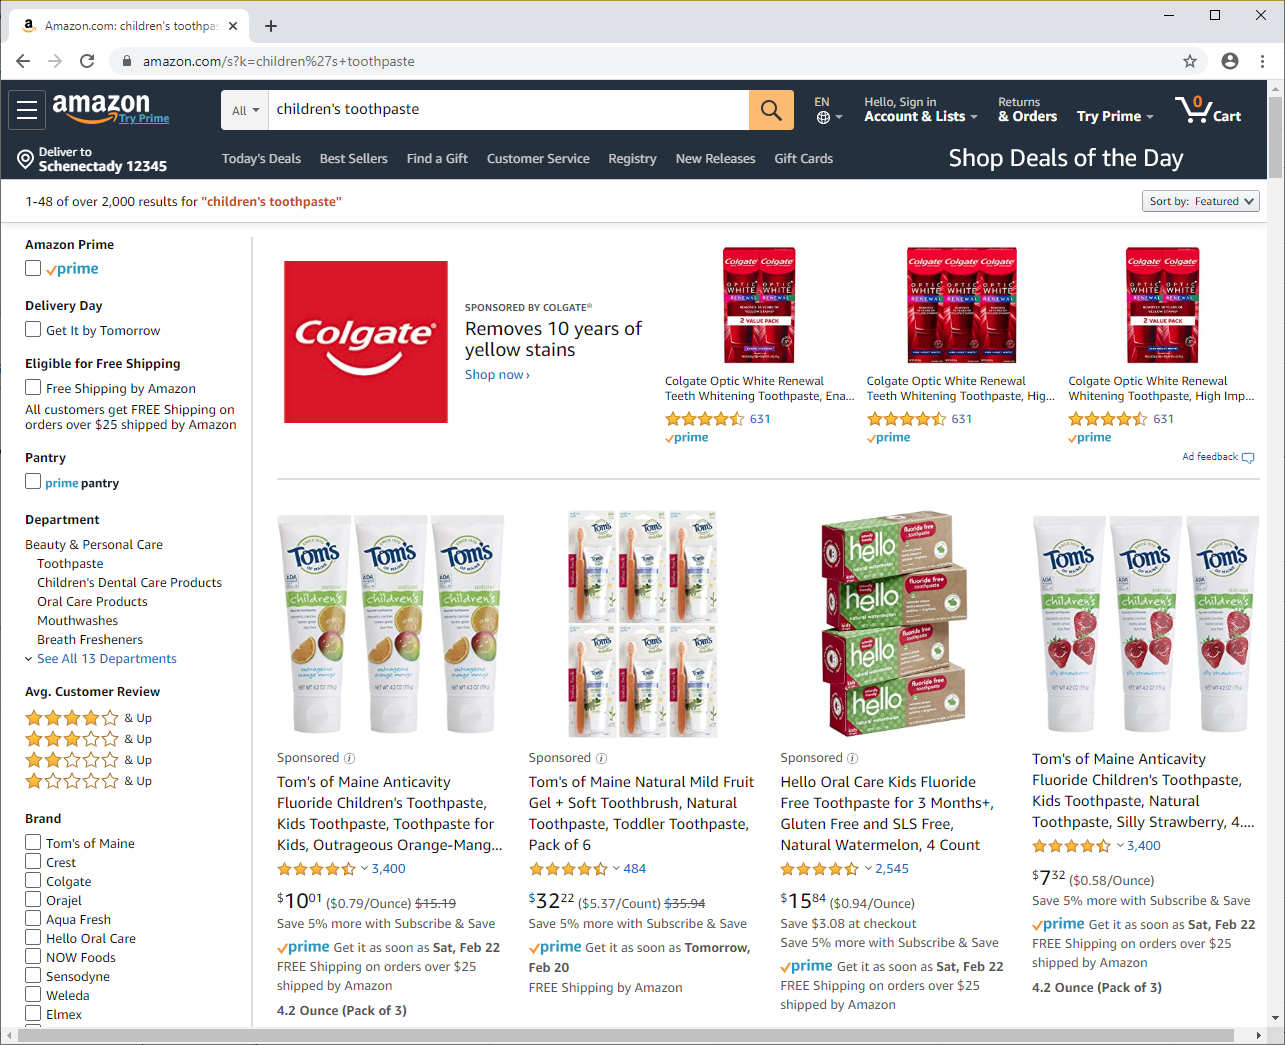 | 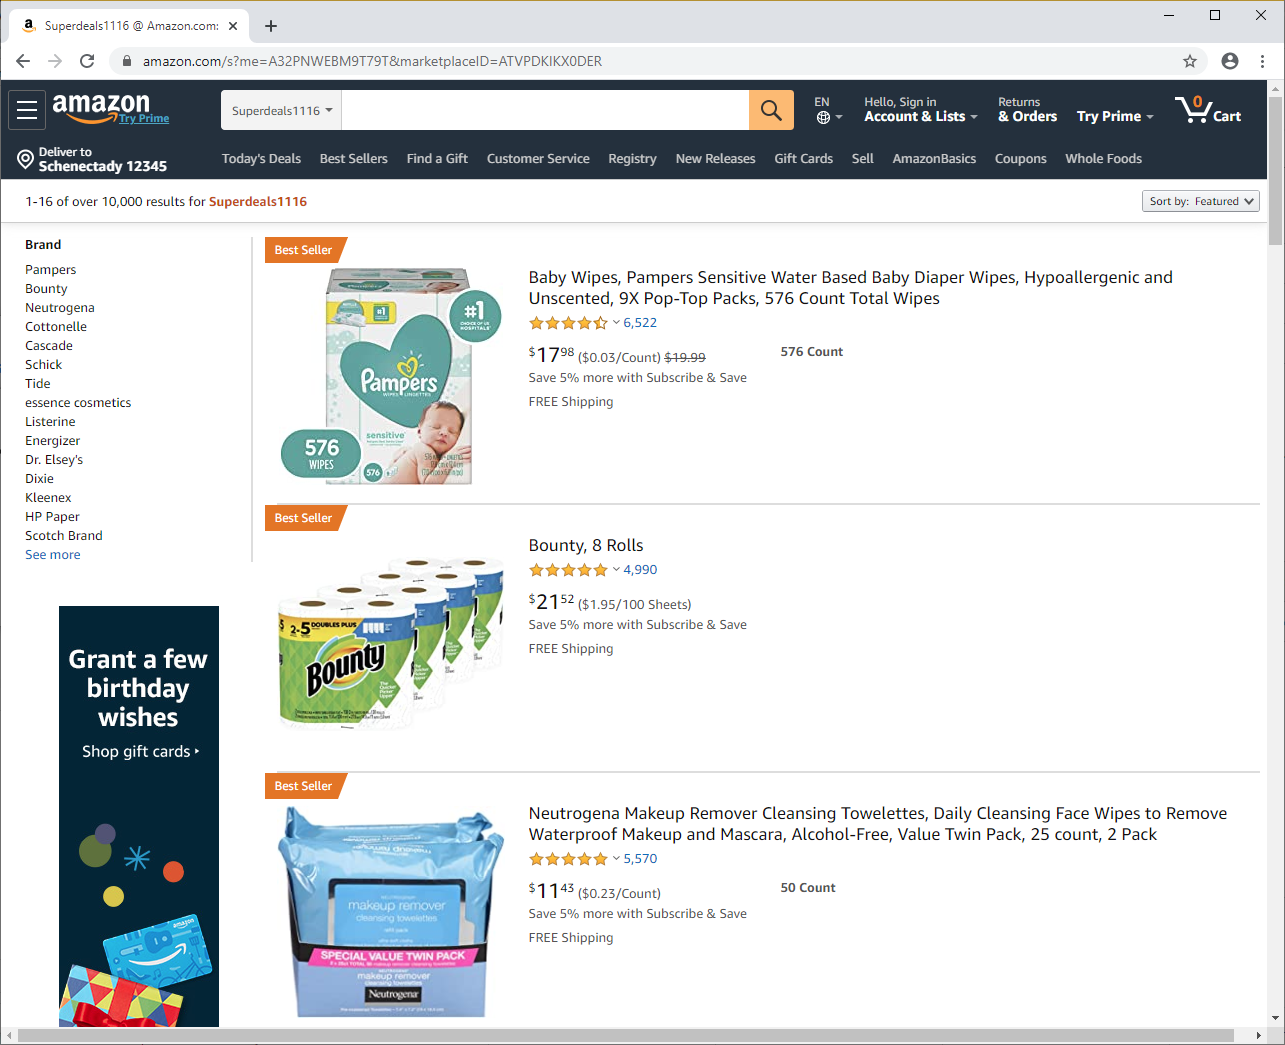 |
If you’d like to try these, you can copy and paste the links into Chrome.
Once the desired page is open, hit “Check Page for Products”. It may take a few seconds before anything happens, but you should then see a “Deep Scan” popup, looking something like this:
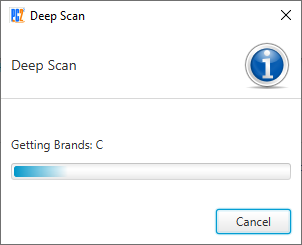
Once this is complete, the control will update to show an expected number of results, and “Analyse XYZ” will light up green instead:
For more information about Deep Scan, please see Deep Scan
Amazon have stopped reporting accurate product counts on a brand-based deep scan. Price Checker will underreport the estimated number of results.
2. Analyse [store/brand/results title]
Click this button now and you’ll be taken to the same run page as when launching files:
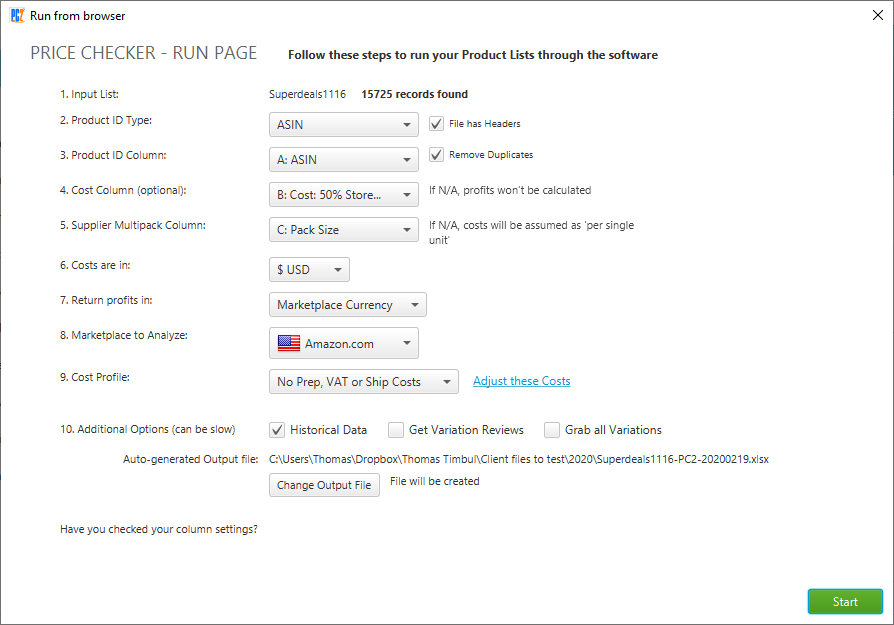
From here you can start the run or abort (by closing the window), after making any necessary configuration changes as explained in Run Settings .
As of version 2.2.43 the browser will remain open, allowing you to continue browsing for another storefront if necessary. You can close it at any time without affecting started runs, or use the rest of Price Checker while Chrome and/or the control are minimised.
Cost Column
On the run settings screen you will see under 4. Cost Column that the default is “B: Cost: 50% Storefront Price”. This is explained below.
Supplier Multipack Column
Under 5. Supplier Multipack Column the default is “C: Pack Size”. This is actually the Packaging Quantity as listed on Amazon. This means that the listed price can be correctly interpreted on a per-unit basis in arbitrage situations. In a browser run this is important when encountering multi-variation parents. For more information please see https://pricechecker2.atlassian.net/wiki/spaces/PC2/pages/360500/Run+Settings#5.-Supplier-Multipack-Column .
Browser Run specific settings

Some special configuration is possible when launching from the browser.
These can be adjusted under Analysis Options:
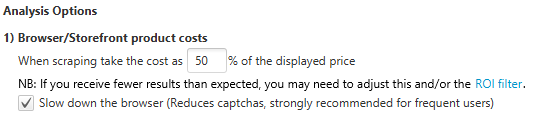
Cost Percentage
We call this the Storefront or Browser Cost Percentage. The purpose of this setting is to give PC2 an initial cost figure to work with, because as you can imagine there is no way for you to explicitly input a price for each ASIN that is taken from the search results. The label will change depending on your configured percentage.
As an example of how this works, take this random product listing taken from Amazon.de:
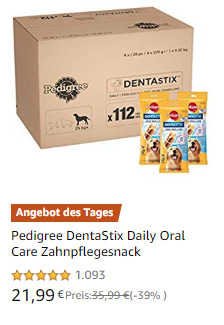
Here the listed price is €21.99. When configured as 50%, PC2 will use a cost of €12 for working out fees and potential profit.
Sometimes Amazon may show a price range for an item. PC2 will use the lower value.
Cost figures on individual items can be adjusted in the output Excel, and profits will be recalculated immediately without having to run everything again.
Slow down the browser
This is an advanced setting and in most cases it won’t be necessary to uncheck this option.
Amazon restricts browsing by showing captchas or returning error pages when it thinks that it has detected an automated tool instead of a human user. This can happen if pages are accessed too quickly or the browsing pattern suggests so. The ‘slow down’ option introduces a delay which makes this much less likely.
If a captcha is encountered, PC2 will ask you to solve it and pause the run in the meantime. If you’re not in front of the screen and the browsing session times out before you can do so, you may need to solve two captchas in succession to continue.
Browser Run specific output
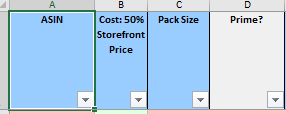
In addition to the main input columns explained above, the output will also contain a “Prime?” columns.
Prime? value | |
|---|---|
Y | Item has Prime logo on the search result listing, or is invisibly marked as Prime directly in the page. |
? | No Prime logo and not marked - but that doesn’t necessarily mean ‘no’ in all cases, so we use '?' instead. |
Subscribe & Save or Sponsored Listings
PC2 ignores Sponsored Listings. These are not reflected in the estimated results in the beginning, nor in the output, but the non-sponsored product could appear if it is part of the ‘regular’ results and is found during browsing.
PC2 always uses the “buy once” prices instead of S&S.
Major Brands
If you have the Major Brands filter enabled, please note that the deep scan will automatically skip brands listed in it. This reduces the length of the run. However, just like the regular filter it may not skip misspellings or alternatives. Add them to your major brands file to remove them in the future.