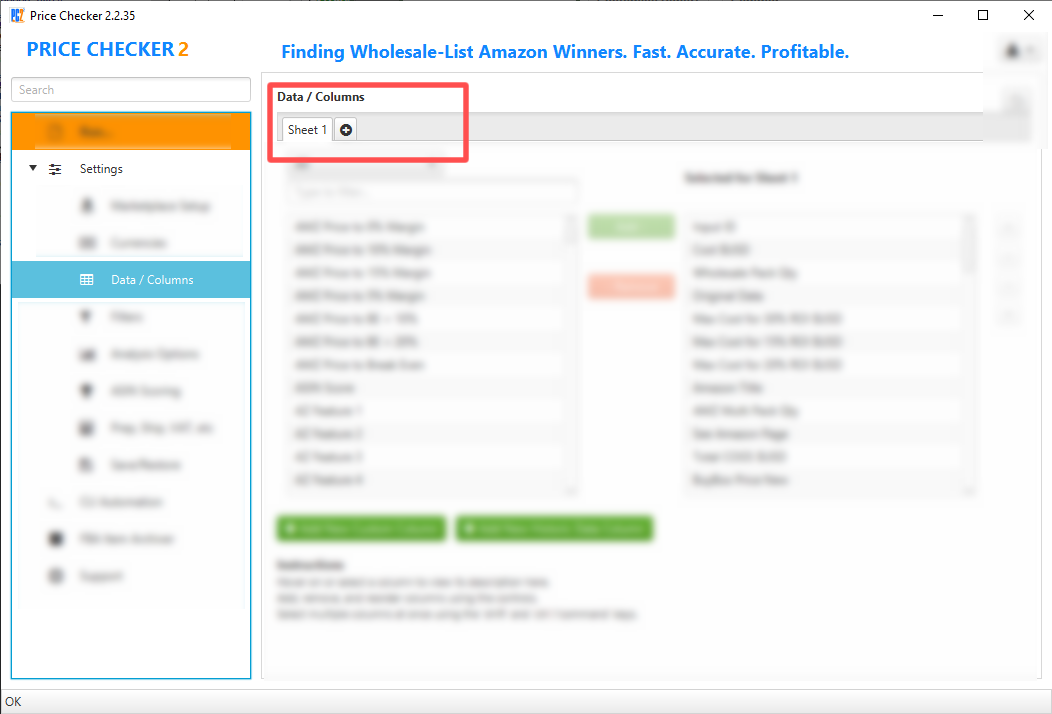
To add another sheet, click +
To rename a sheet, double click its title. Type and confirm the new name with Enter on the keyboard or click elsewhere to cancel.
To remove a sheet, click 'x' next to the name. PC2 will prompt you to confirm.

Price Checker 2 allows you to fully customise your Excel output, including the ability to add multiple sheets/tabs with different content. Here’s how to use them.
Open the Data/Columns chooser, and Sheet management is found at the very top

To add another sheet, click +
To rename a sheet, double click its title. Type and confirm the new name with Enter on the keyboard or click elsewhere to cancel.
To remove a sheet, click 'x' next to the name. PC2 will prompt you to confirm.

The x will only show on the currently selected tab. Click on the sheet you wish to remove and the x will appear. |
It isn’t currently possible to change the sheet ordering. |
The content by label feature displays related articles automatically, based on labels you choose. To edit options for this feature, select the placeholder below and tap the pencil icon.
|